Popular routes
The Weekly Route Series showcases Mythic+ strategies that are tailored towards the Beginner and Intermediate levels of Mythic+. In other words, the following route imports are designed with the following criteria in mind:
Easy to execute - particularly in pick-up-groups (PUGs)
Good tradeoffs between skipping the most difficult enemy forces while not requiring overly complicated strategies or “tech” to do so.
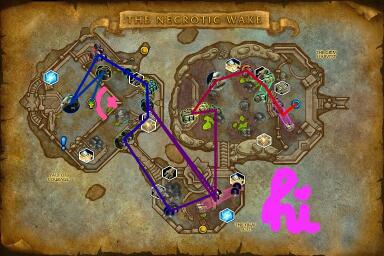
Come say hi at twitch.tv/thebunten
100%
Newly published routes
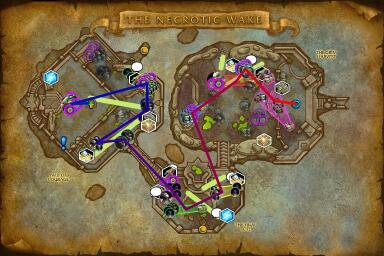
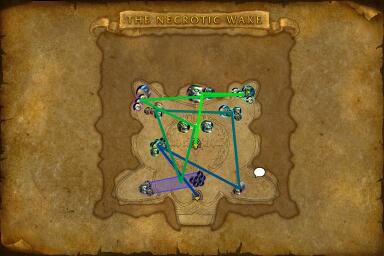
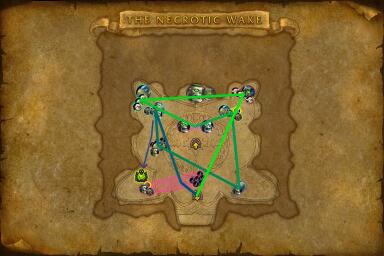
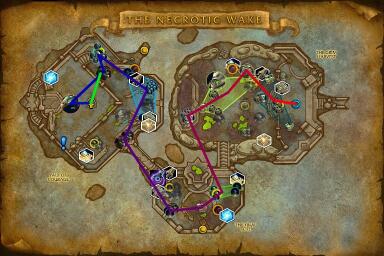
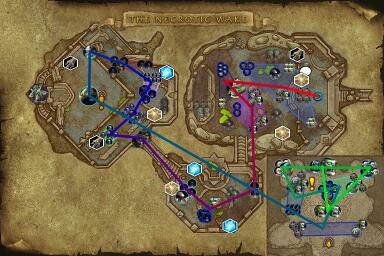
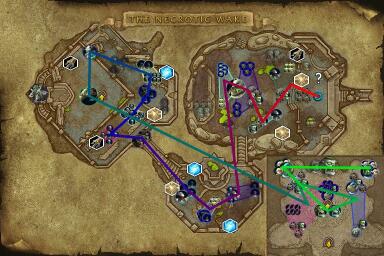
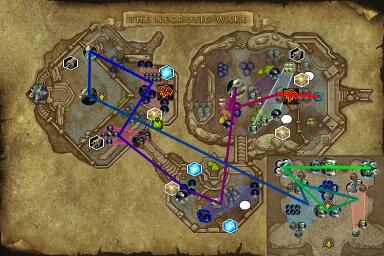
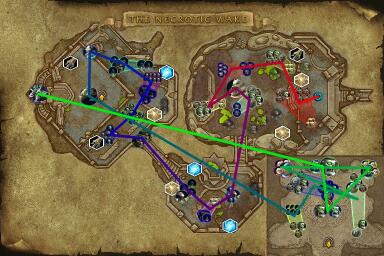
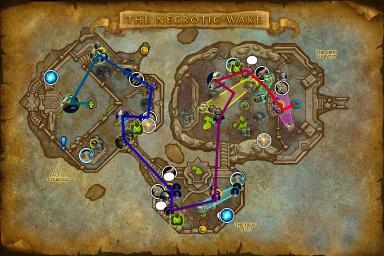
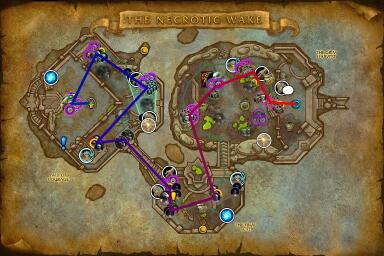
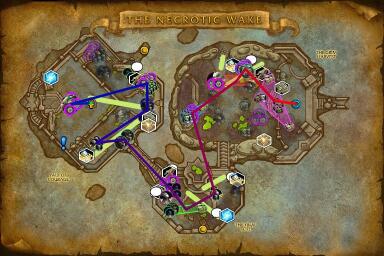
Choose this route if you're heading into more intermediate keys, and hoping to practice a few more difficult strategies and pulls. Most notably, you'll opt to avoid some less-productive pulls in the first room, including the far north Stitched Vanguard pack and the Corpse Harvester pack on the mezzanine. Begin to think about how you can skip Zolramus Necromancer pulls, as they become more and more inconvenient as you climb higher in key level.
100%
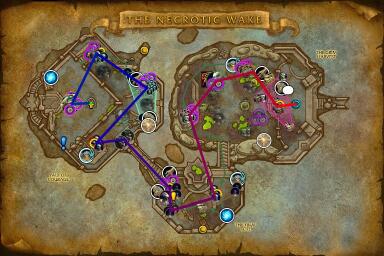
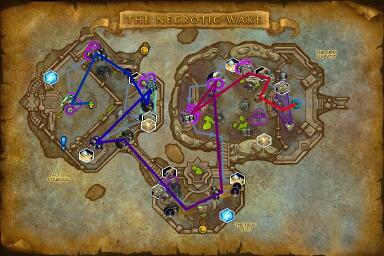
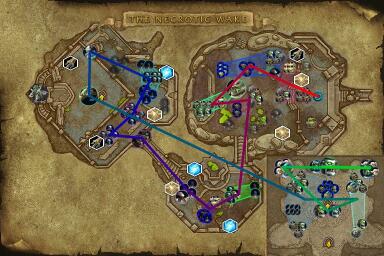
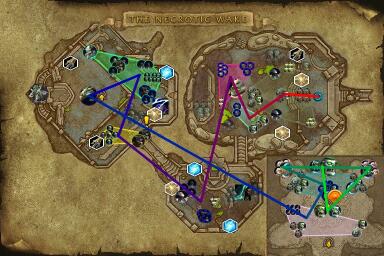
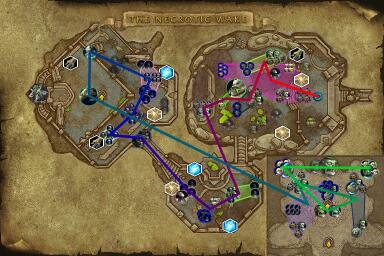
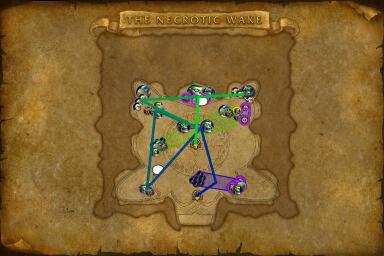
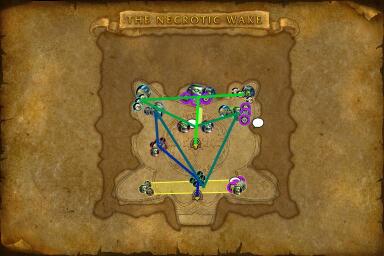
Plan to use this route if you're running +16 and above, as teams at this level are opting for different (and much larger!) pulls throughout the first floor.
100%
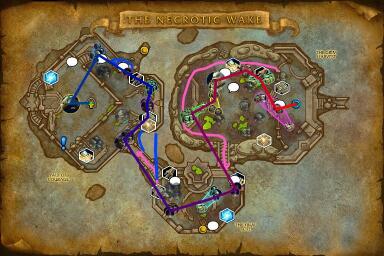
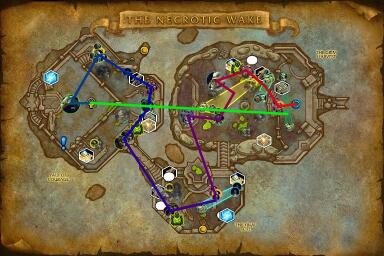
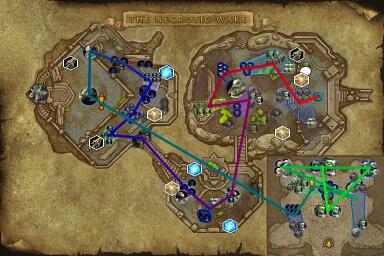
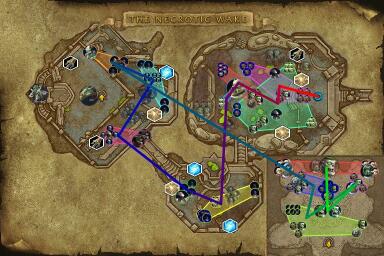
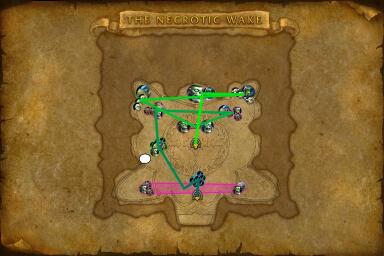
Plan to use this route if you're running +2 to +11 keys, as these are the most common pulls utilized at those key levels. At +12 and above, groups are typically opting to skip the Corpse Harvester pack in Pull 4, instead pulling the Flesh Harvester pack at the bottom of the stairs in that first room.
100%
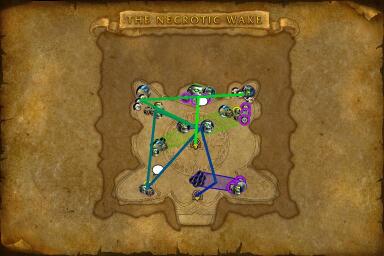
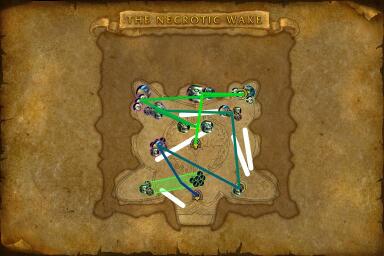
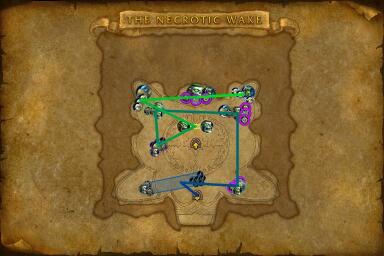
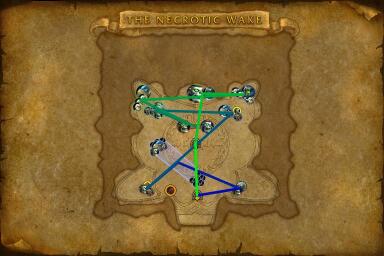
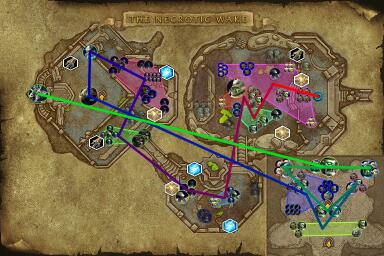
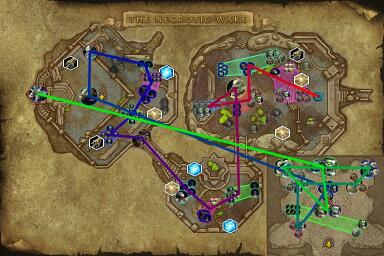
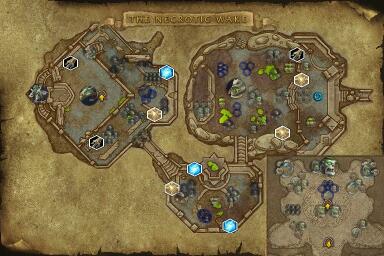
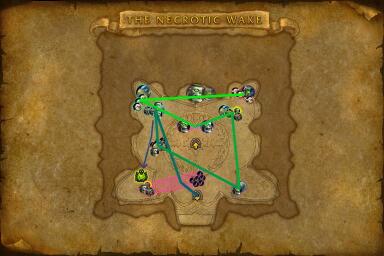
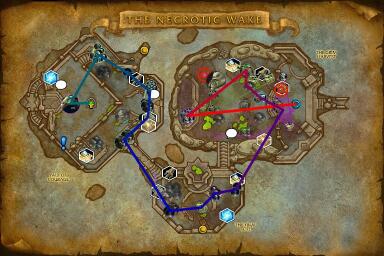
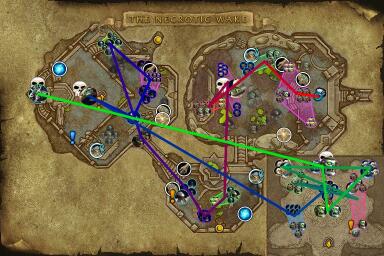
This method pulls all 3 Necromancers in the first area. Pulling them with other mobs in the area saves time and yields high percentage allowing you to skip packs later on.
101%






 bunten#4358

